Choosing Color 101: Tones and Shades
Congratulations!
You've decided to update the home and it's time to pick your new colors. This can be so exciting but also quite frustrating. Where do you begin? Here are a couple of quick and dirty tips to pulling together that perfect palette with minimal stress.
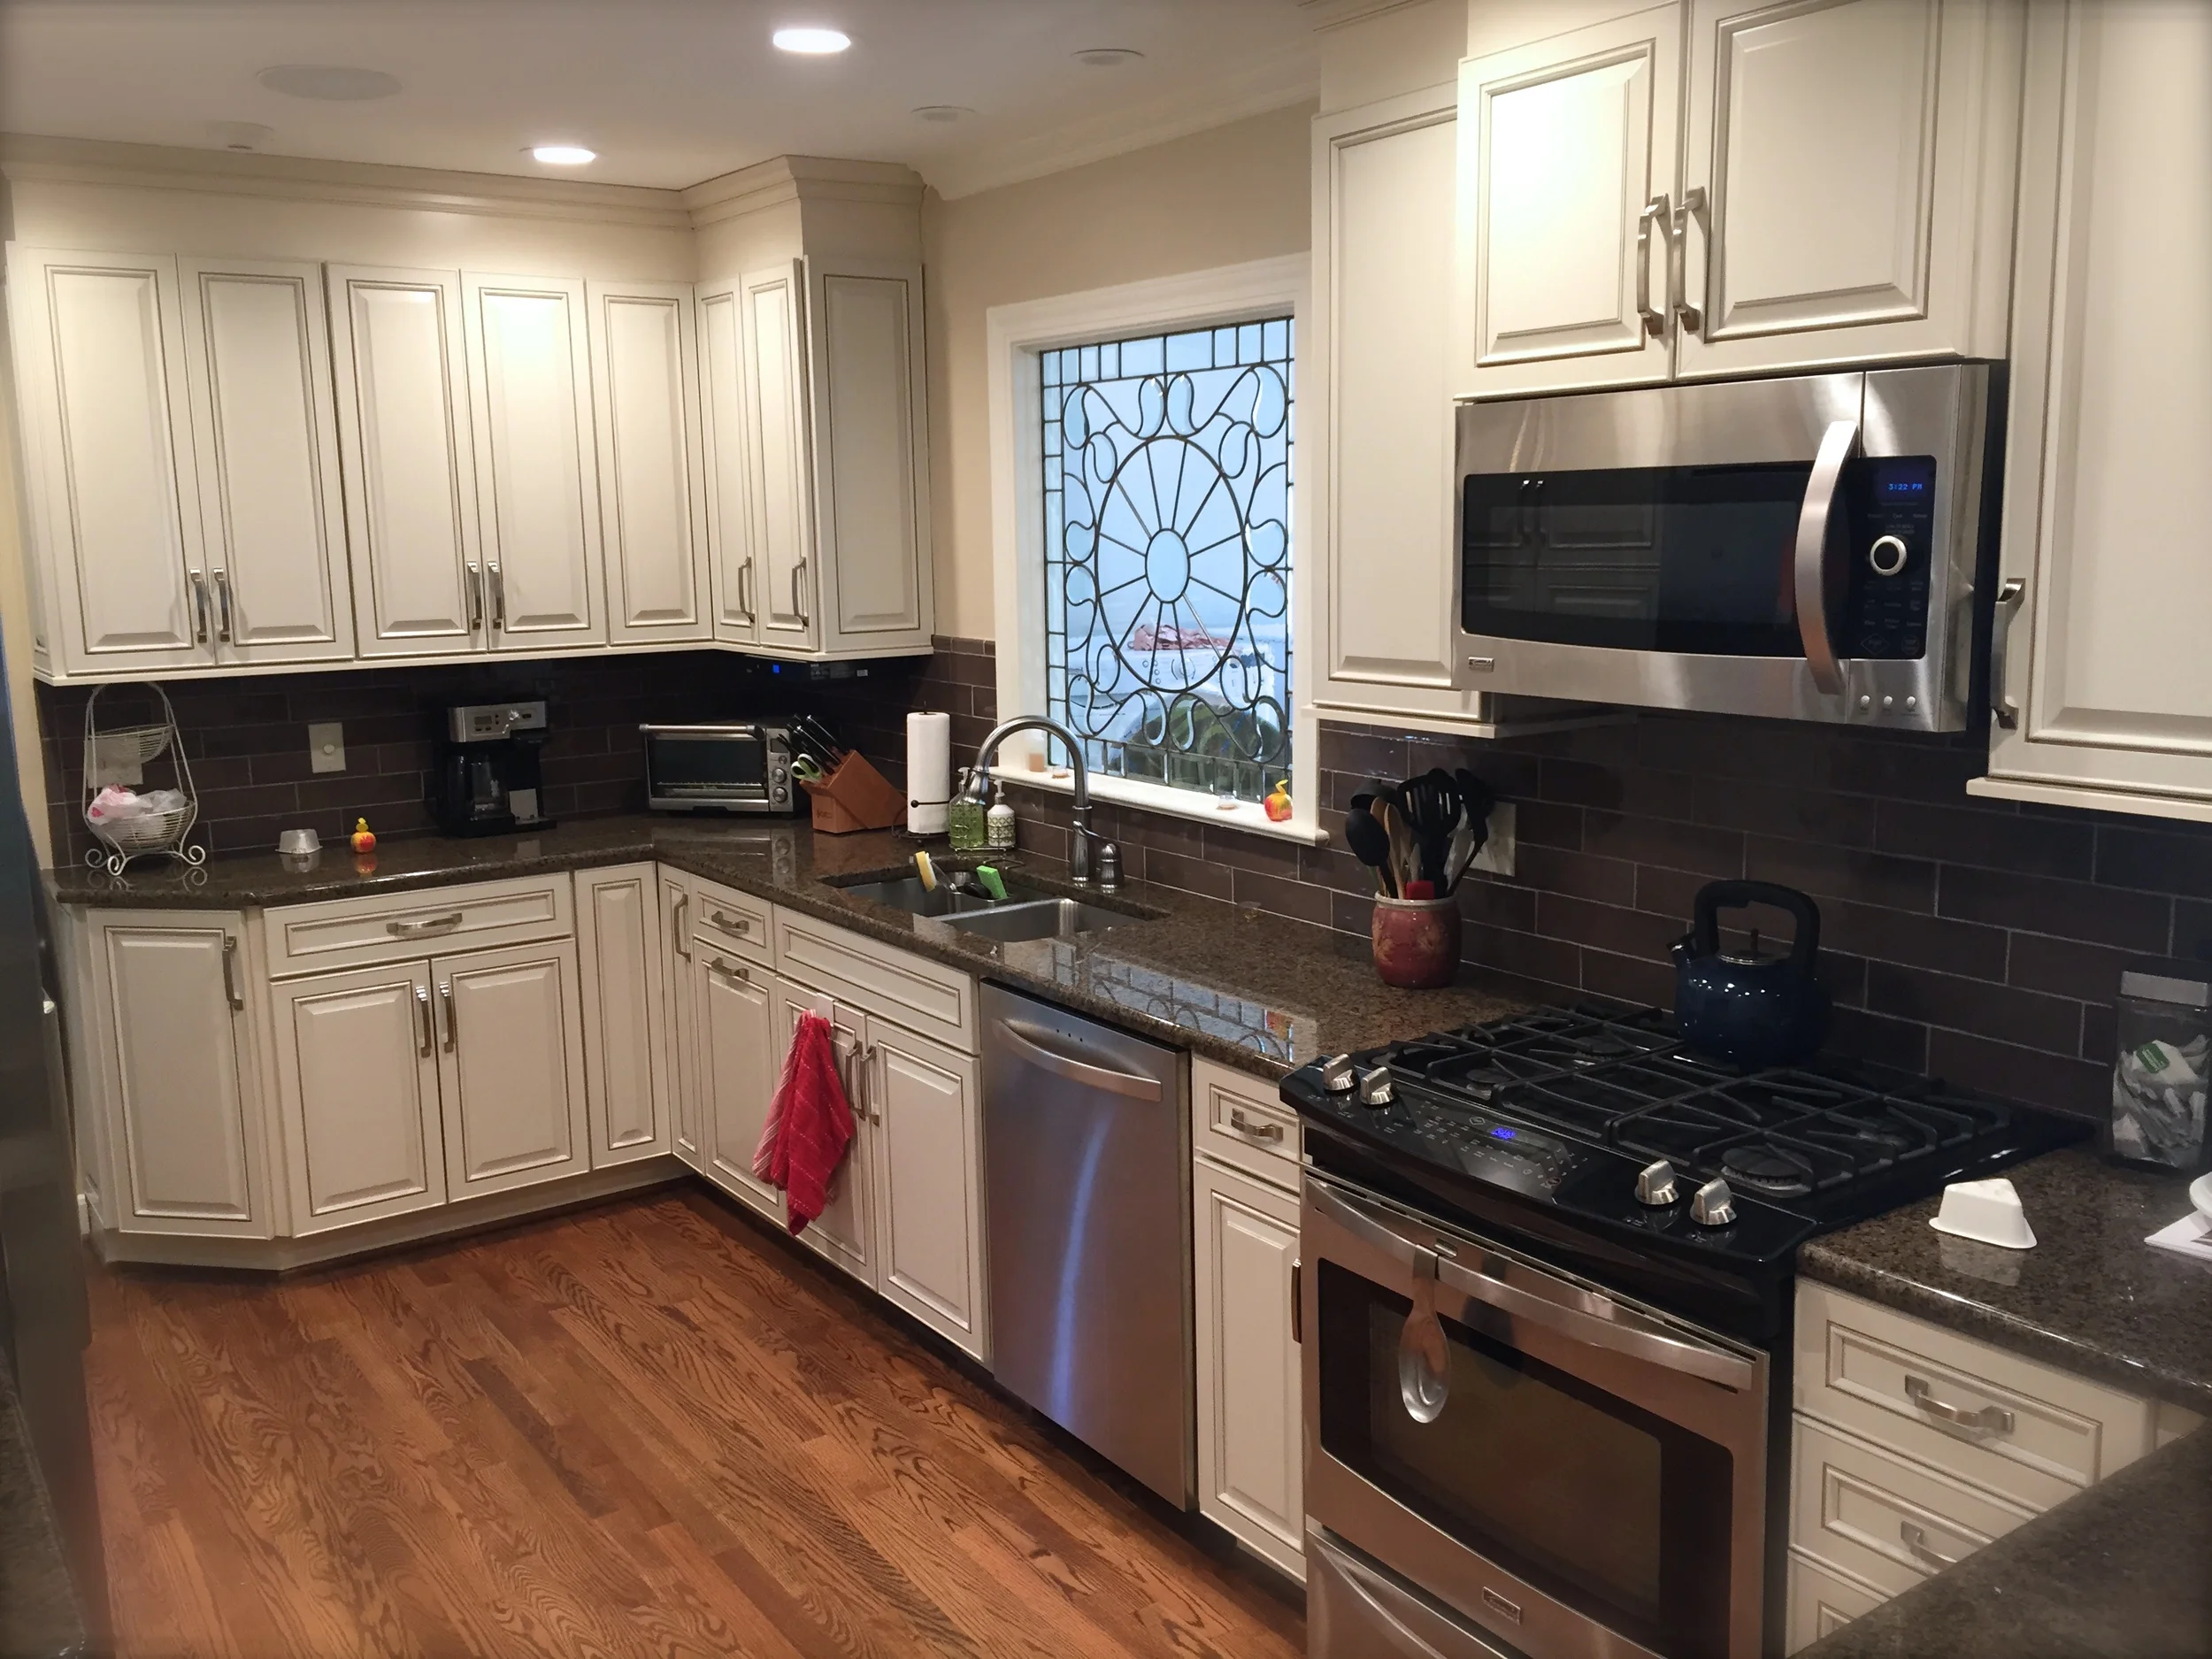
Step 1. Start with your least flexible design element: Of course, you'll have Pinterest, Houzz, and that design savvy neighbor to help you pick colors. I mean seriously, inspiration is everywhere, but when it comes to creating a cohesive color palette for your home, you'll want to wrestle that excitement down to around three colors. Those chosen few will need to come from the least flexible element in the space. For Kitchens and Baths, the anchor colors are usually found in the countertops. Living and Dining room palettes are often anchored in floor coverings or window treatments; whichever holds the highest value for you.

Choose colors from anchor elements such as countertops, rugs or window treatments
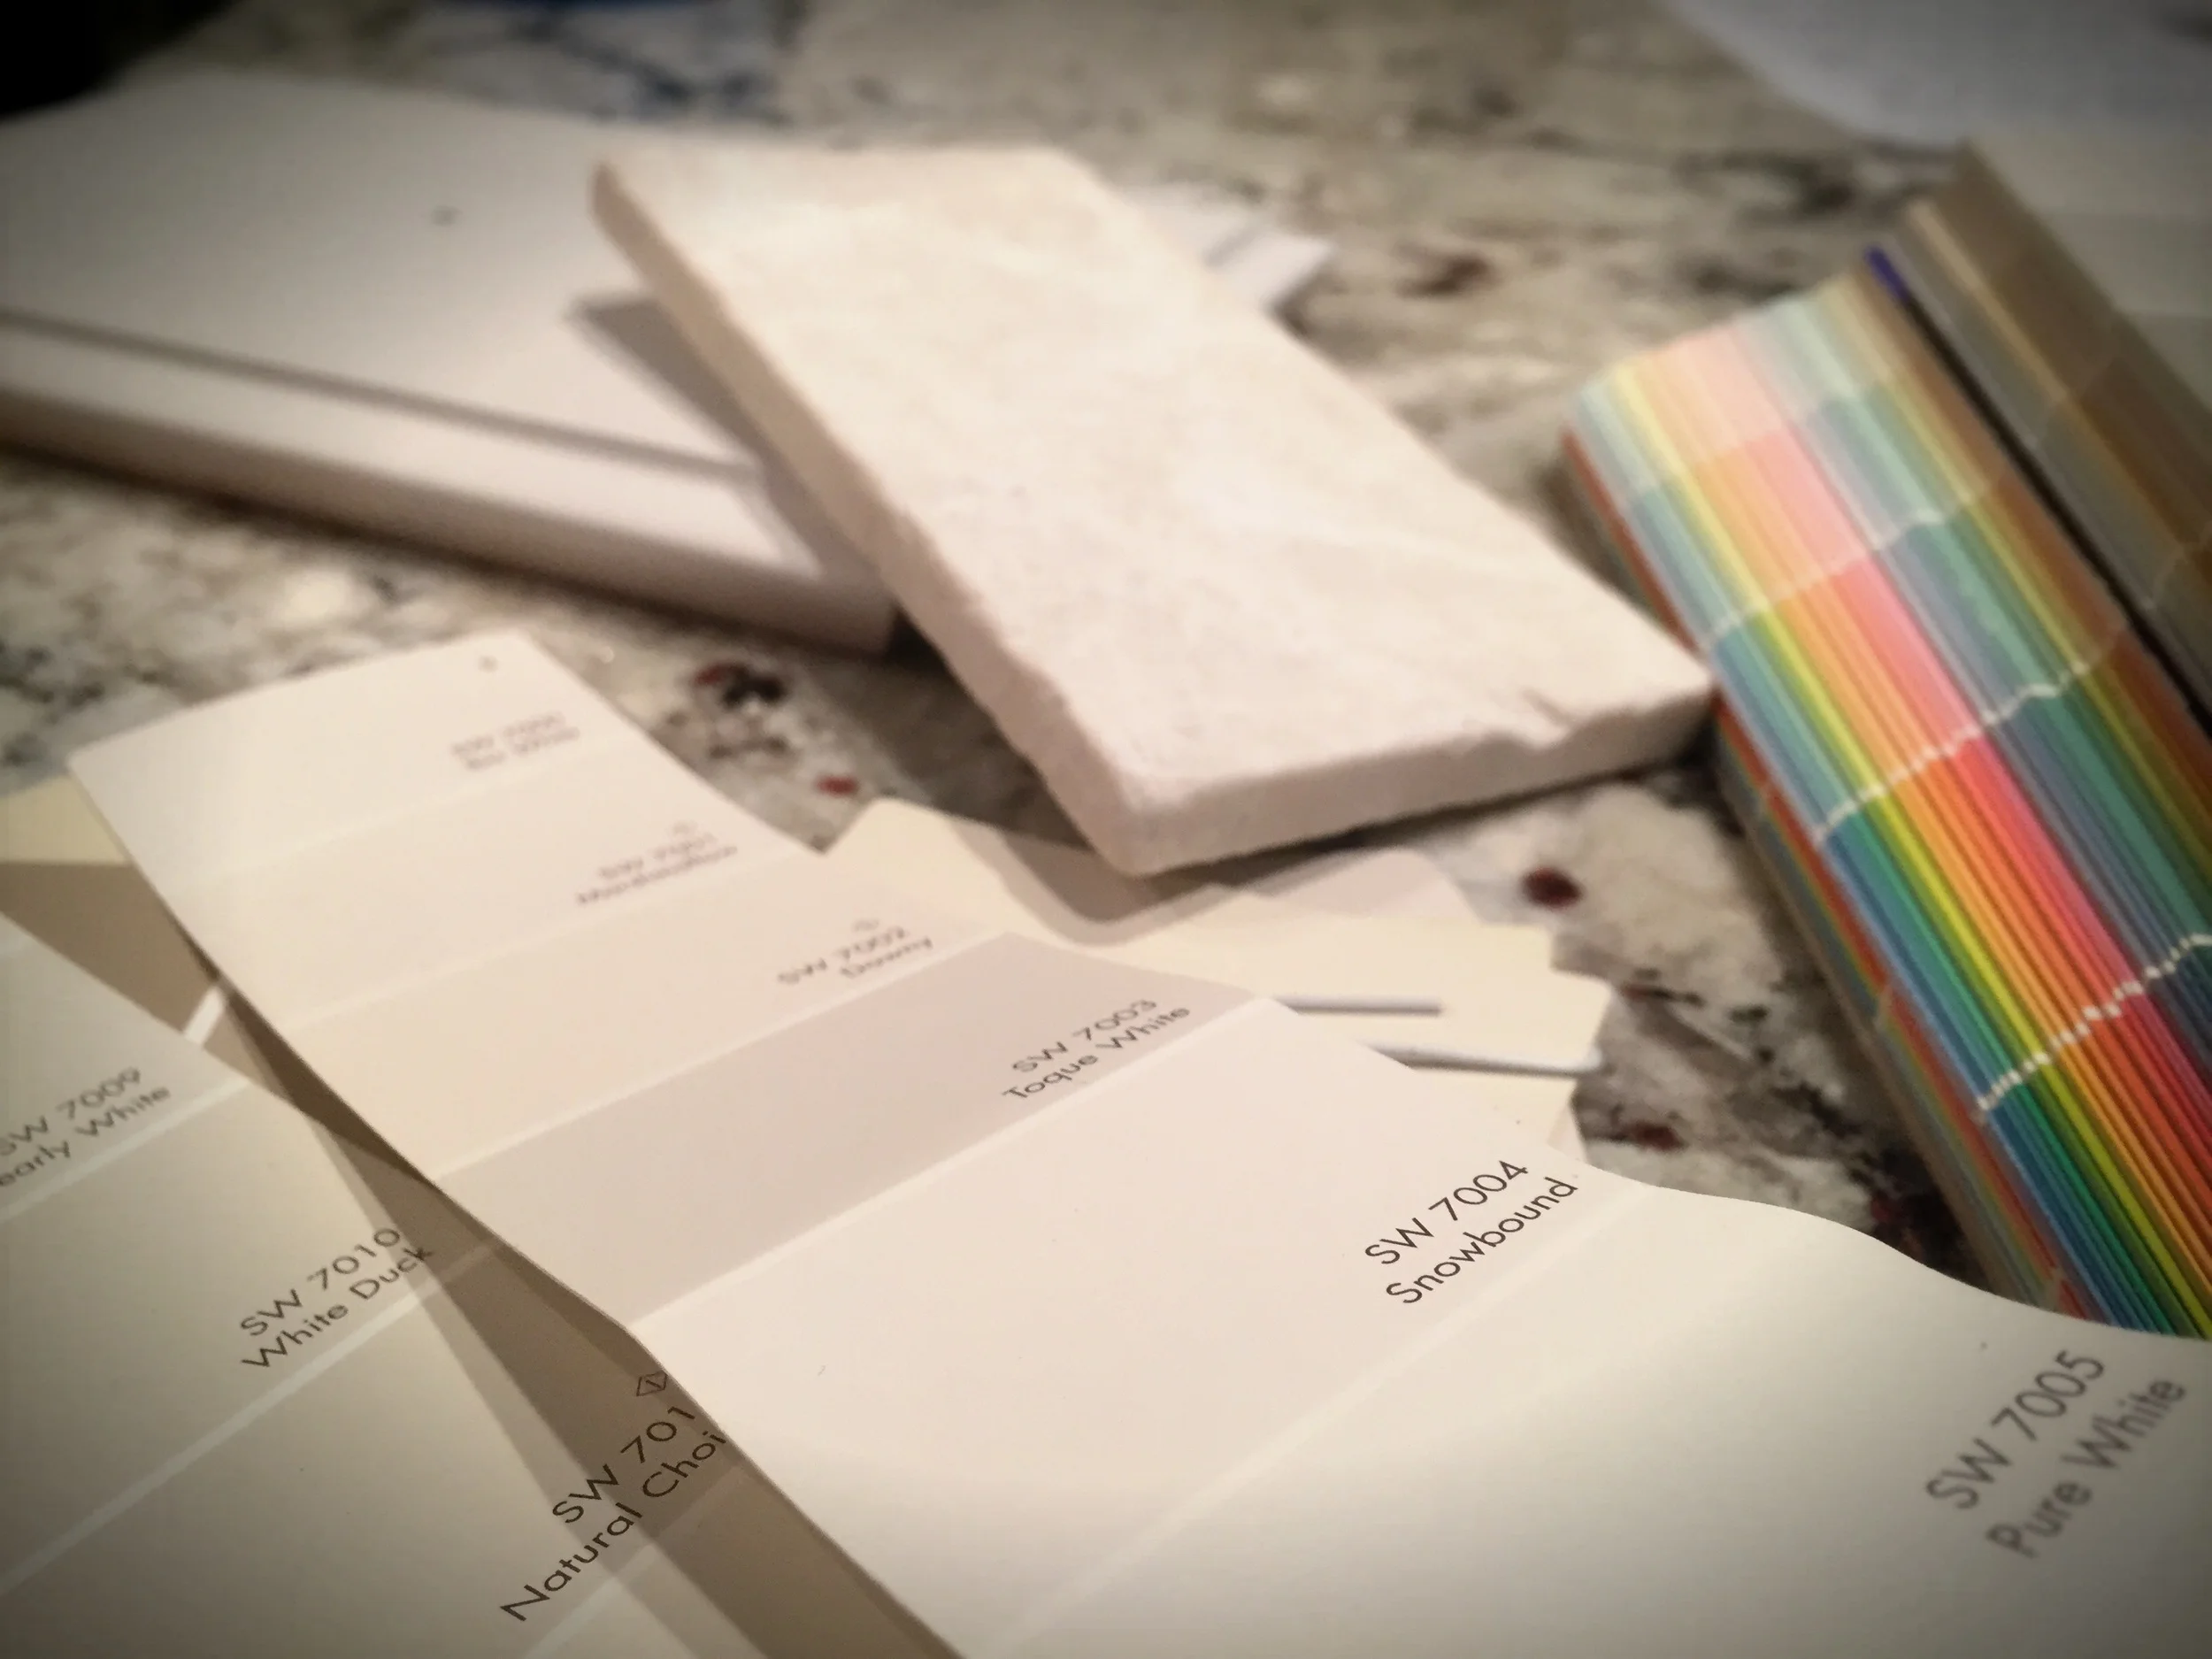
Step 2. Create Room-to-Room Continuity: Once you've decided on your anchor element for the room and have chosen no more than three colors from it, you'll want to hone in the tonal quality that will build continuity from room to room throughout your home. This whole-house flow is achieved by understanding the purpose of value, shade and tone. Though all paint suppliers offer similarly formatted means of color selection, I've found that the Sherwin-Williams fan deck is perfectly formatted to find the best color because values, shades and tones are easily discernible. Notice that each card has varying depths or shades of the same color. Now, notice that each gradient is matched from card to card. Your goal, once you've chosen the anchor color palette in one room is to match that depth of color in the next room.

Select a depth of color for your entire home and choose colors from that tier throughout.
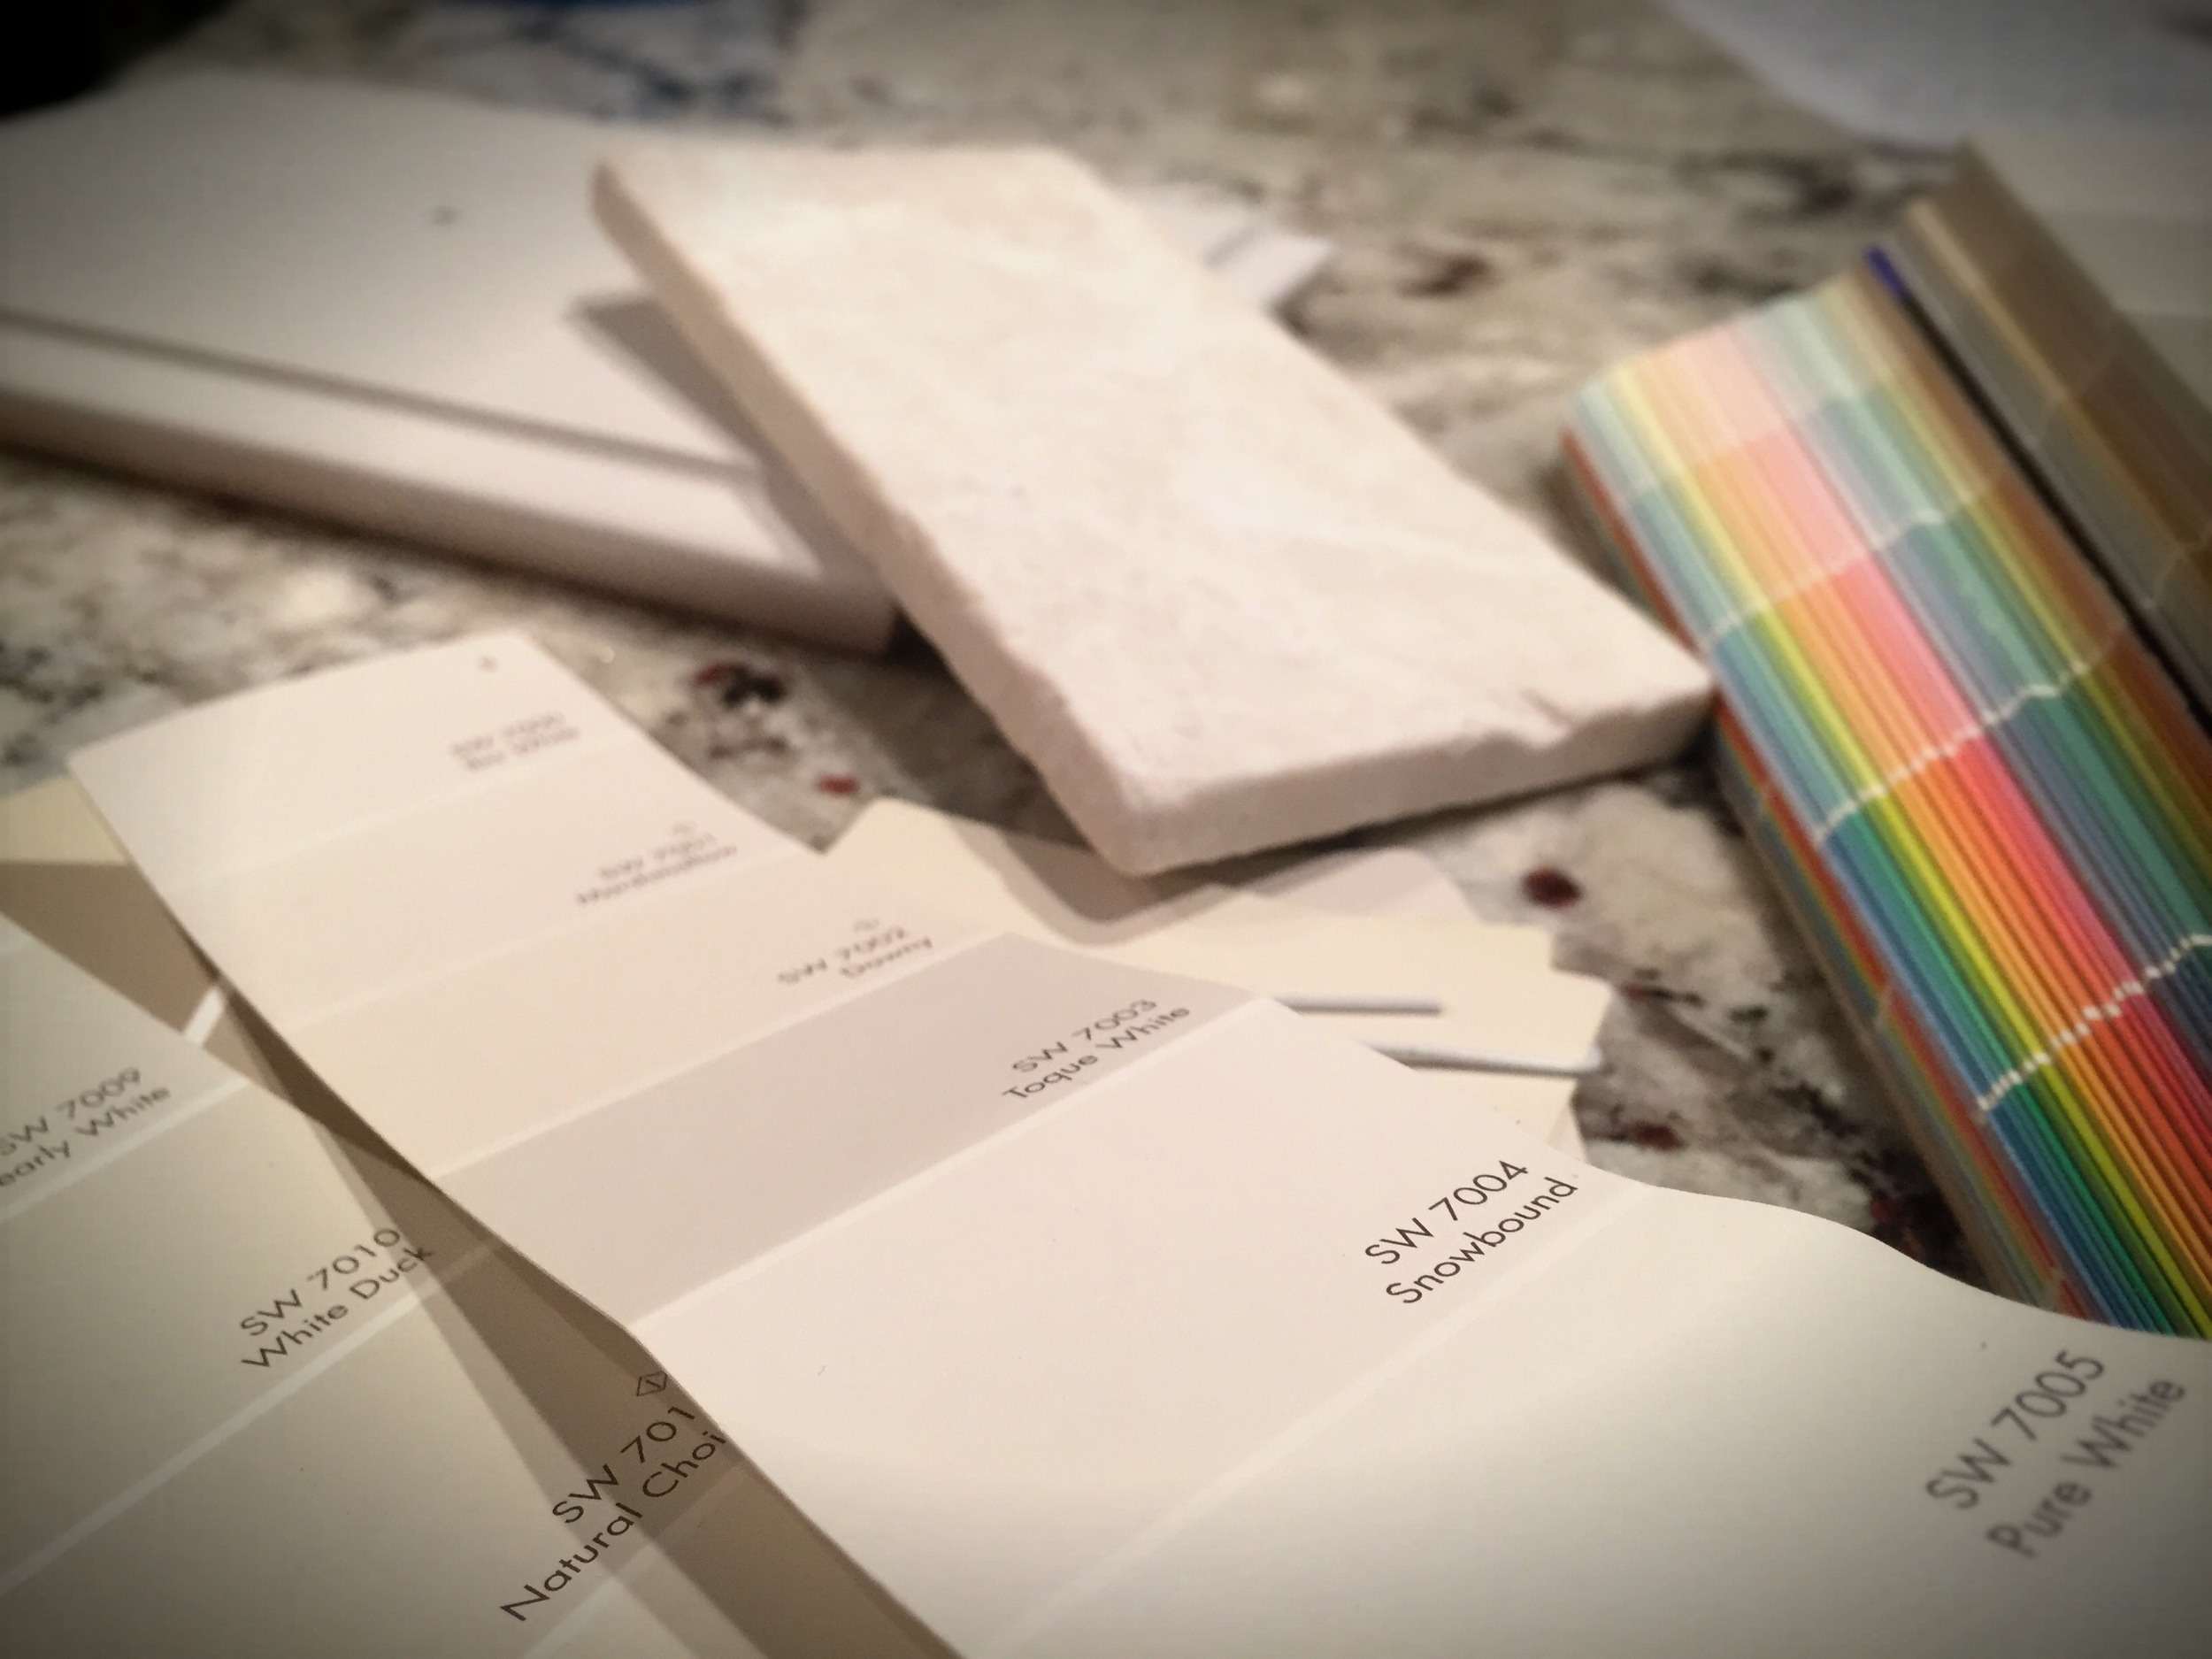
No, you don't have to use the same color in every room, but it's a good idea to stay in the same shade or depth of color from room to room. Let's say for example, you've chosen "Sea Salt" from the above picture, as your kitchen wall color. Sea Salt is a 6th tier color, so your adjacent rooms can easily be any other color, as long as they are also 6th tier colors. If you prefer Comfort Gray in one room, you might choose Relaxed Khaki in the next room, because both are 5th tier colors. Obviously, less diversity makes the job easier. As a general rule, your common areas such as foyer, halls and living rooms are best left the same. Color changes can occur where doors separate the spaces, like bedrooms, bathrooms, kitchens and dining rooms.
HOT TIP: If you're serious about finding that perfect color, go ahead and make the small investment in a fan deck from your local paint supplier. You'll be glad you did! That huge wall of color at the big box store, with its thousands of color chips is inspiring, but you can't take it all home. You'll try, but I promise you'll go back for more color chips. Buy the fan deck!
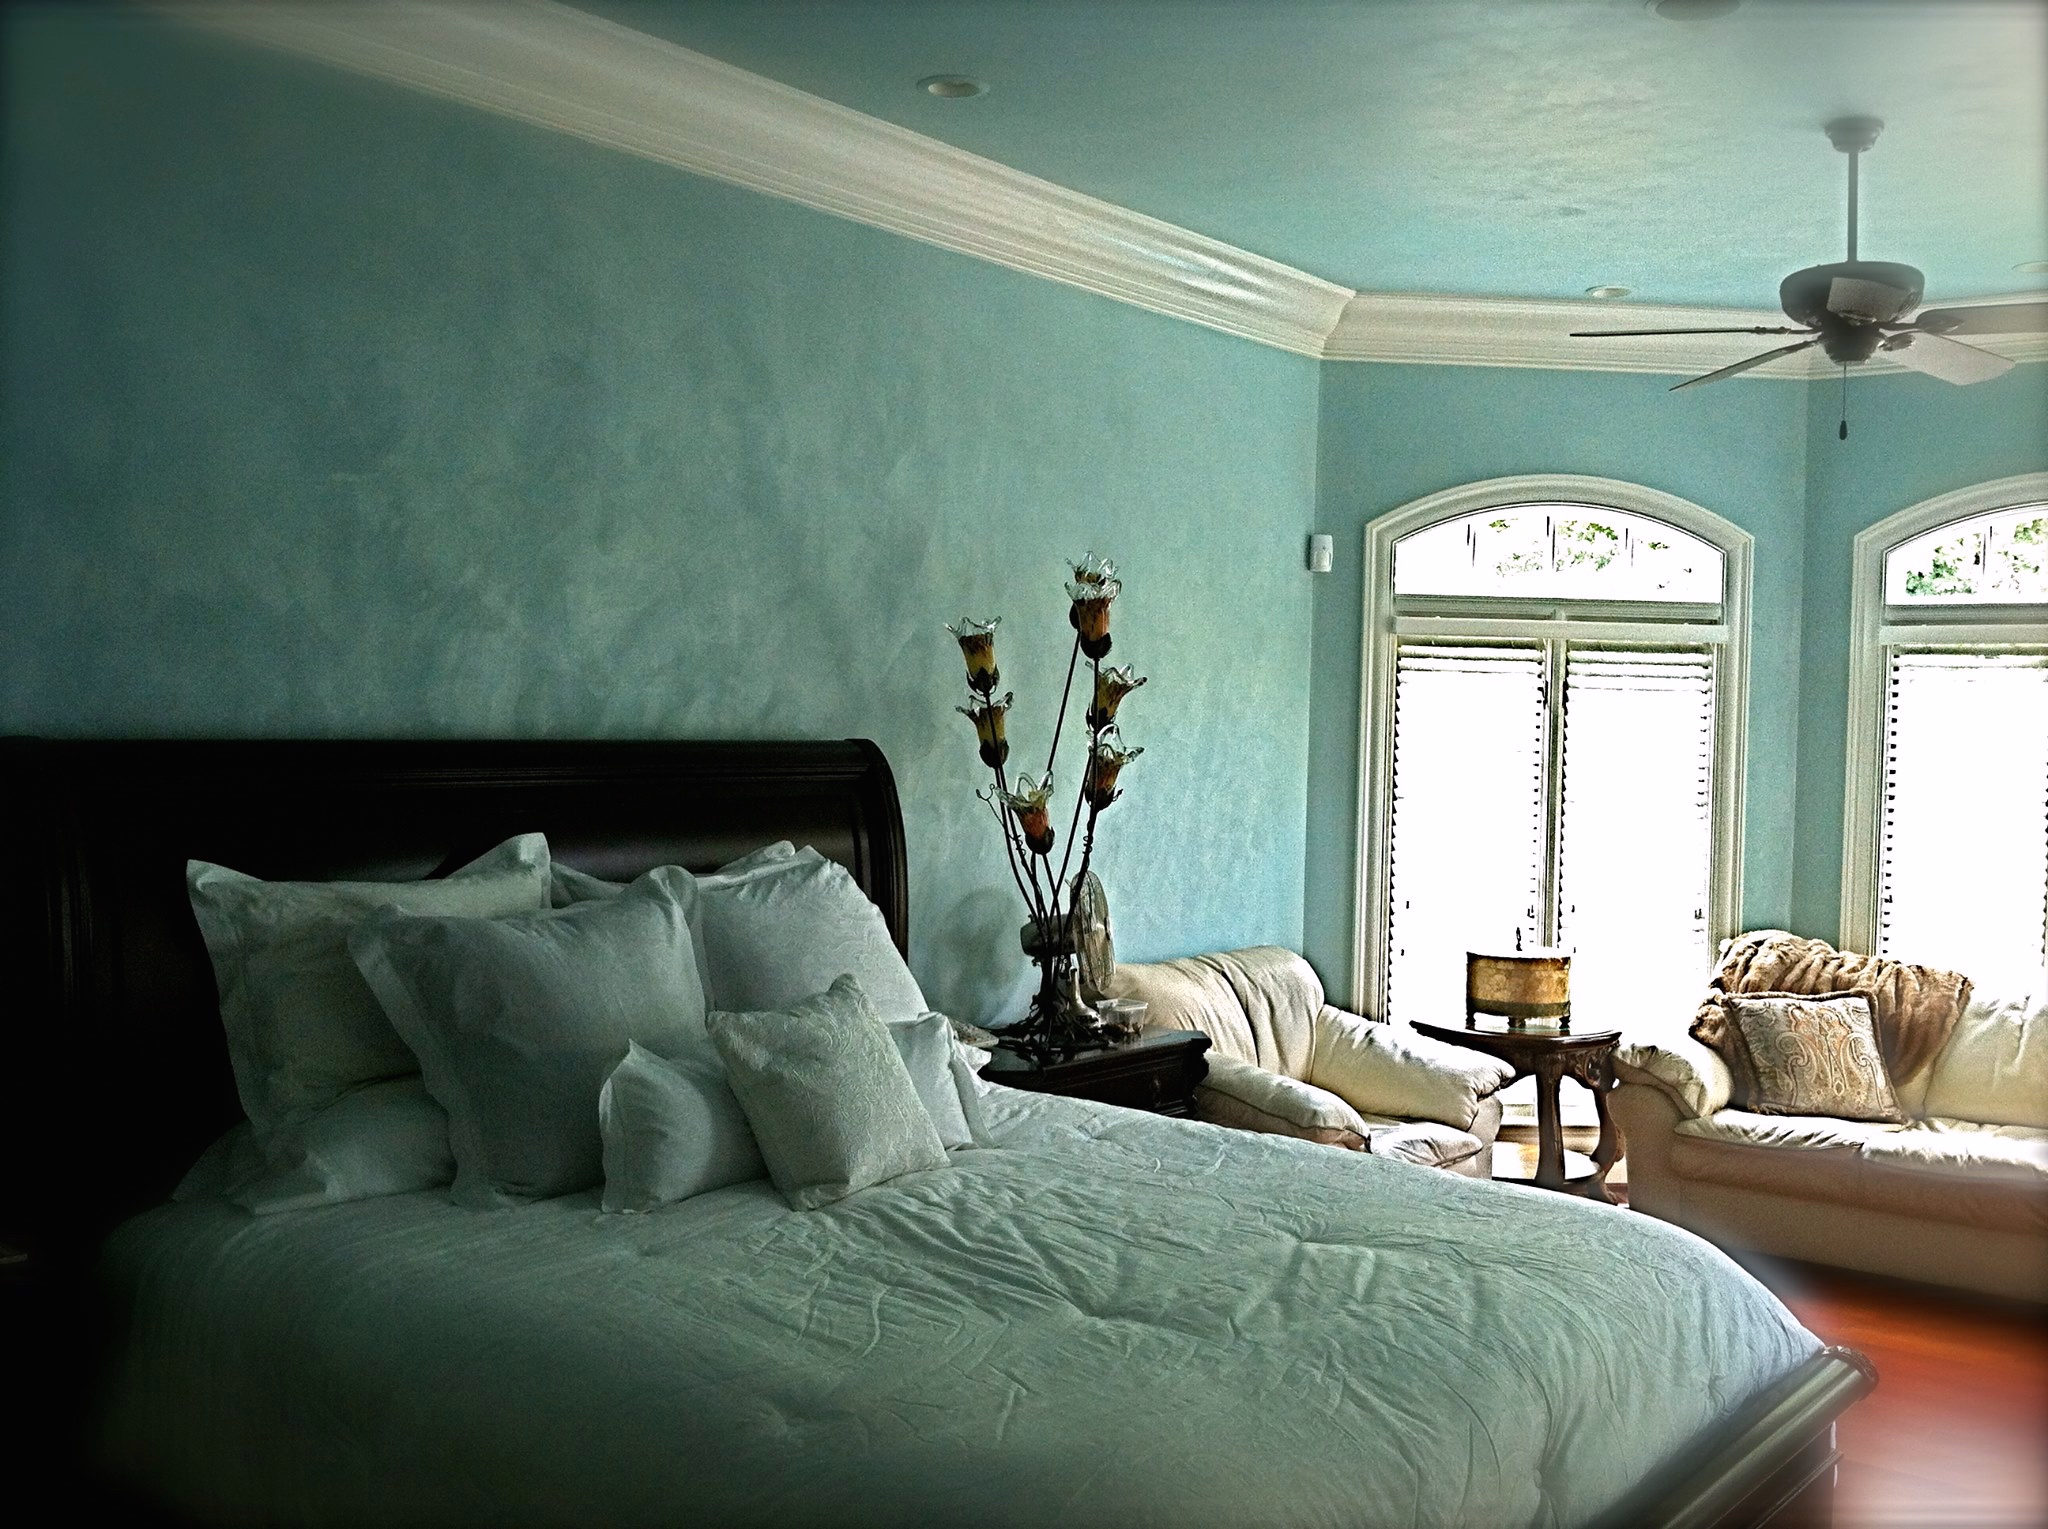
Step 3. Ceilings and Accent Walls: Finally, you may want to add fun or interesting pops of color in special places. When it comes to accent walls, you'll probably be jumping away from the main palette but there's one rule that still applies. Remember the magic number three from your original palette? Well, if you introduce a new color for an accent wall, you'll need to repeat that color at least two more times in the space for it to anchor properly. For example, if you choose a chartreuse green for one wall in your bedroom, you'll want to repeat that same green in accent pillows, a throw and/or architectural elements. This triune approach to new color introduction creates balance and avoids the "hodgepodge" look. I love how the accent wall shown below was framed to add more interest and depth.

Finally, if you've never painted your ceilings, you'll want to investigate this opportunity. As a general rule, if you have crown molding in the space, it's a perfect candidate for ceiling color. Many designers will do a 50% Solution of the wall color on ceilings. This allows the ceiling to have some life without going too dark. Adding color above and below the crown molding also allows the crown to pop and show better. By drawing the eye up, you're adding more depth and interest to the space. This final image below shows a decorative finish called LusterStone which we applied to both ceiling and walls. The result was successful and inspiring.
Happy Coloring!
-Nathan